


No products in the cart.


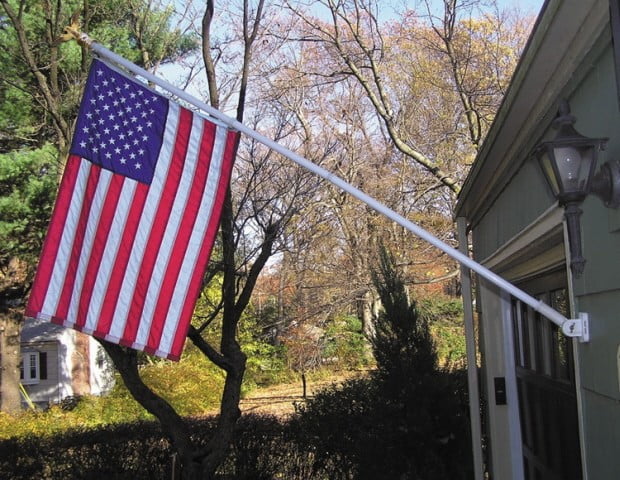
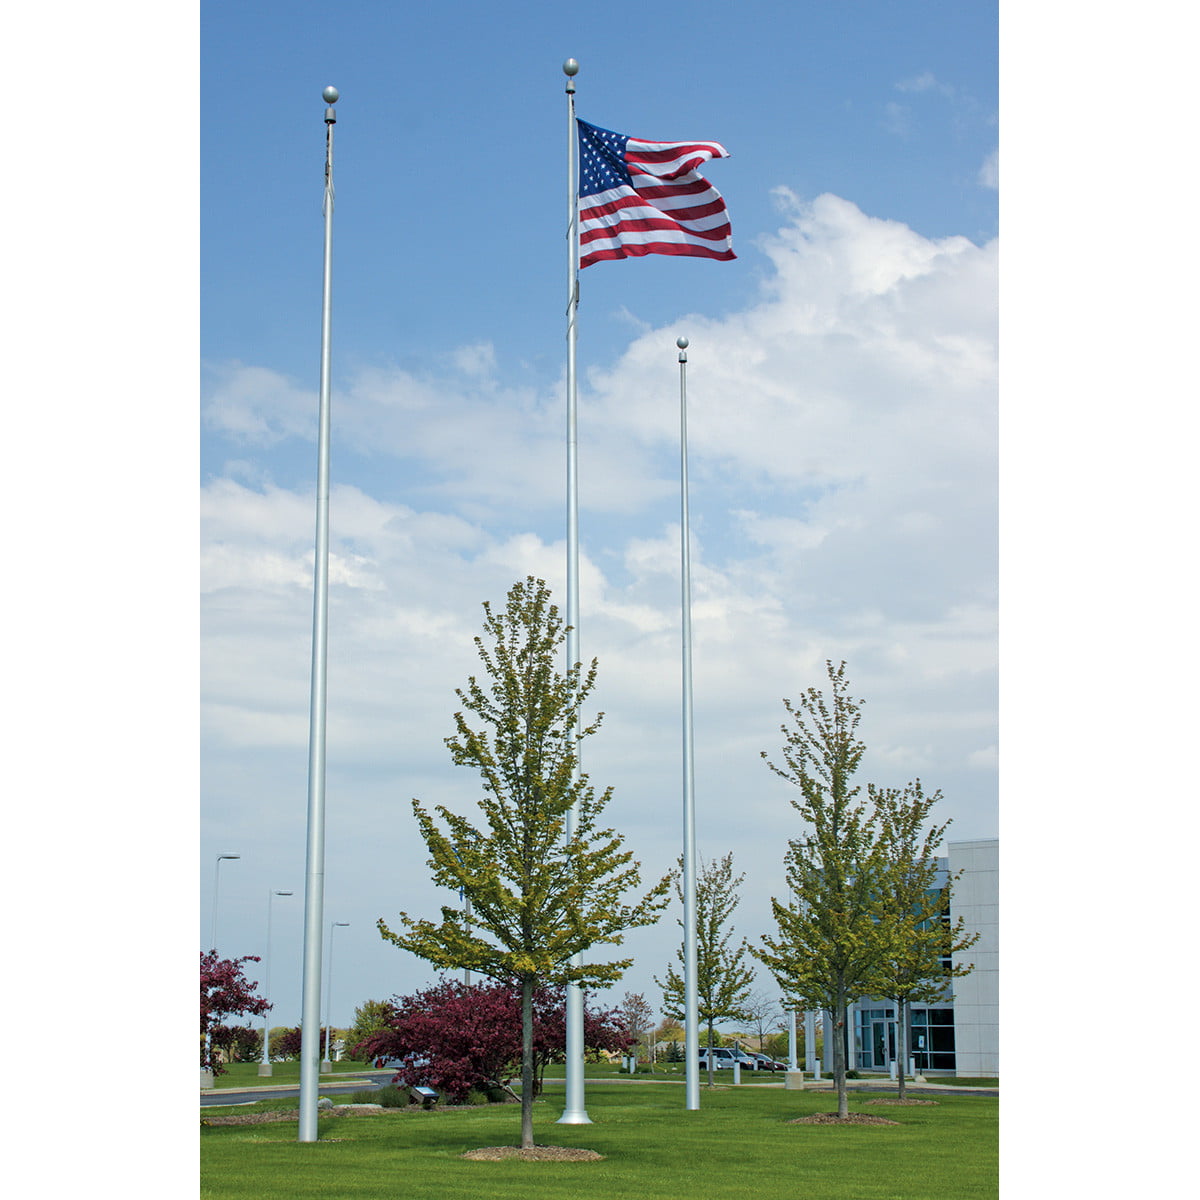
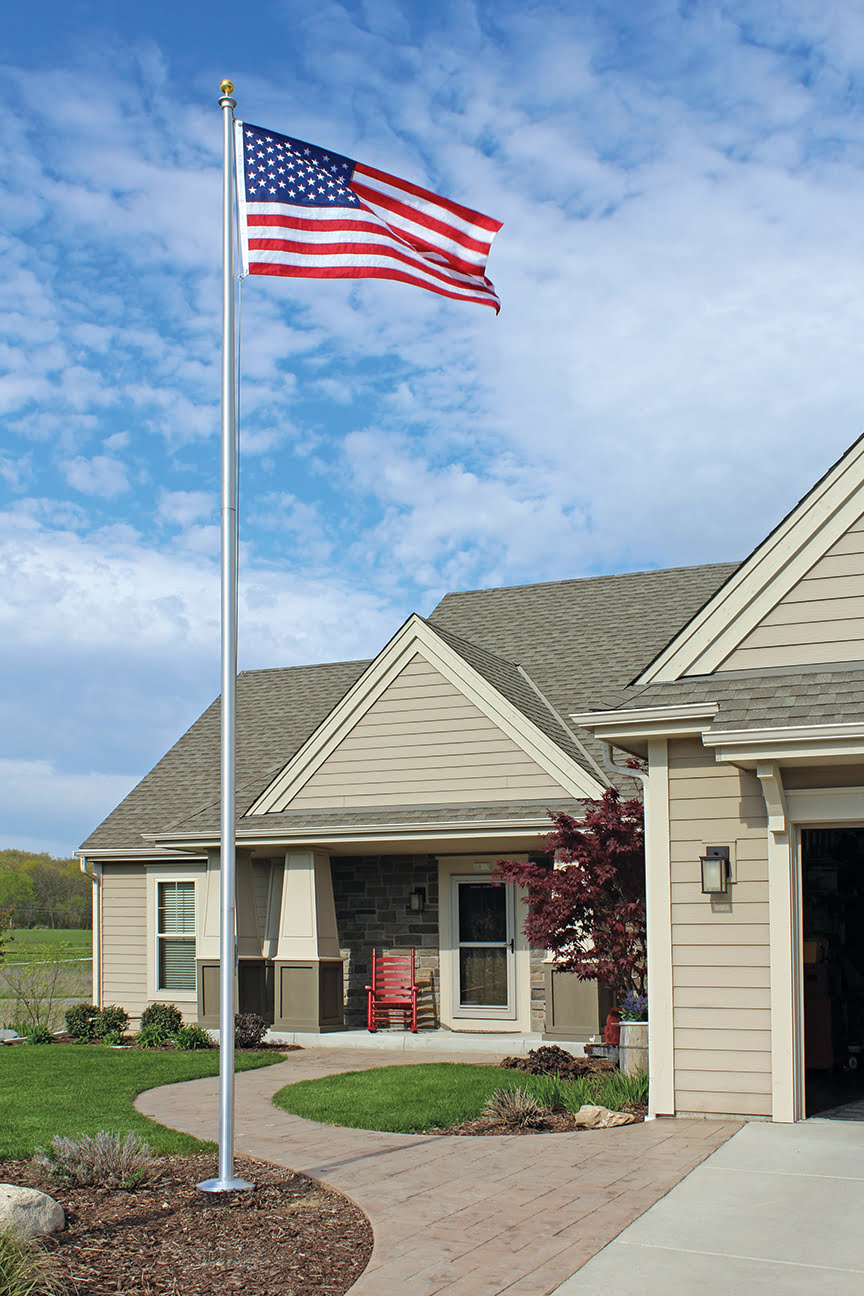
American flags are classic displays of love for the United States. To show your gratitude and patriotism, you can install an American flag on your house! The flag pole will rise high into the air, and the flag will wave gloriously in the wind. After deciding on just the right position, use these tips for assembling an outdoor American flag set to assist you through the process!
There’s nothing worse than missing a piece in the middle of a project. When you start assembling your outdoor US flag set, take out every item and check that all materials are present.
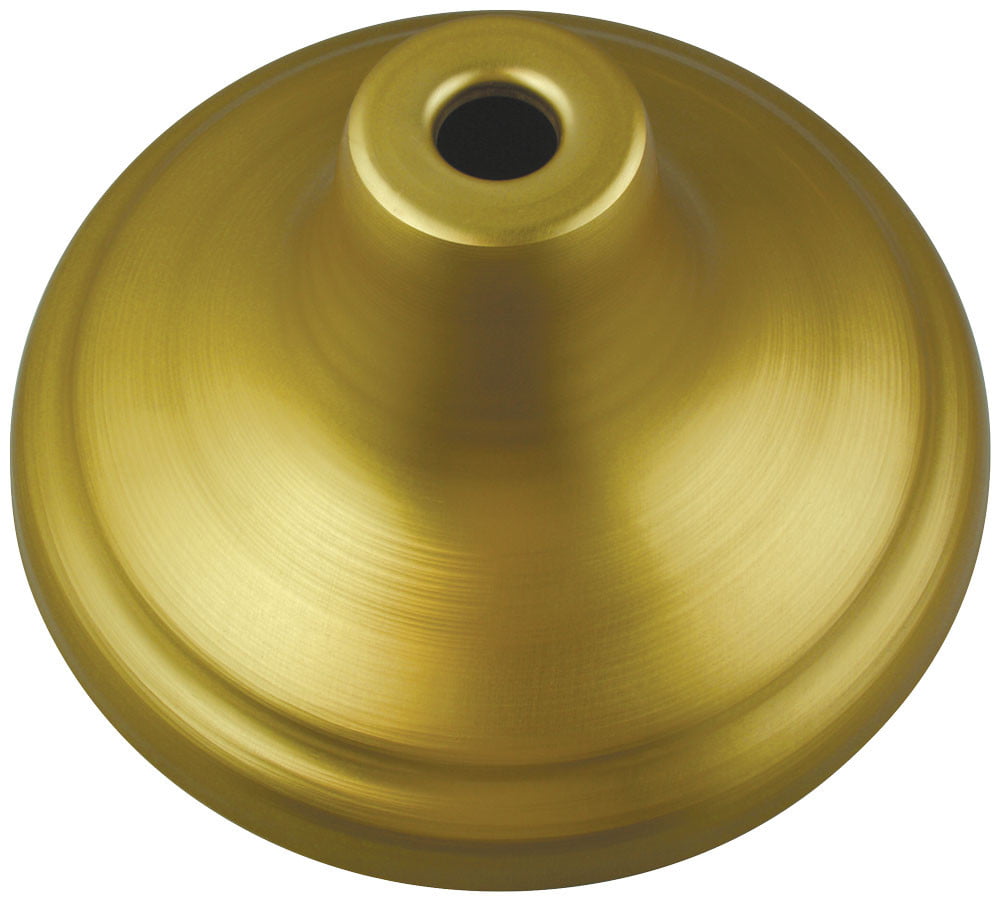
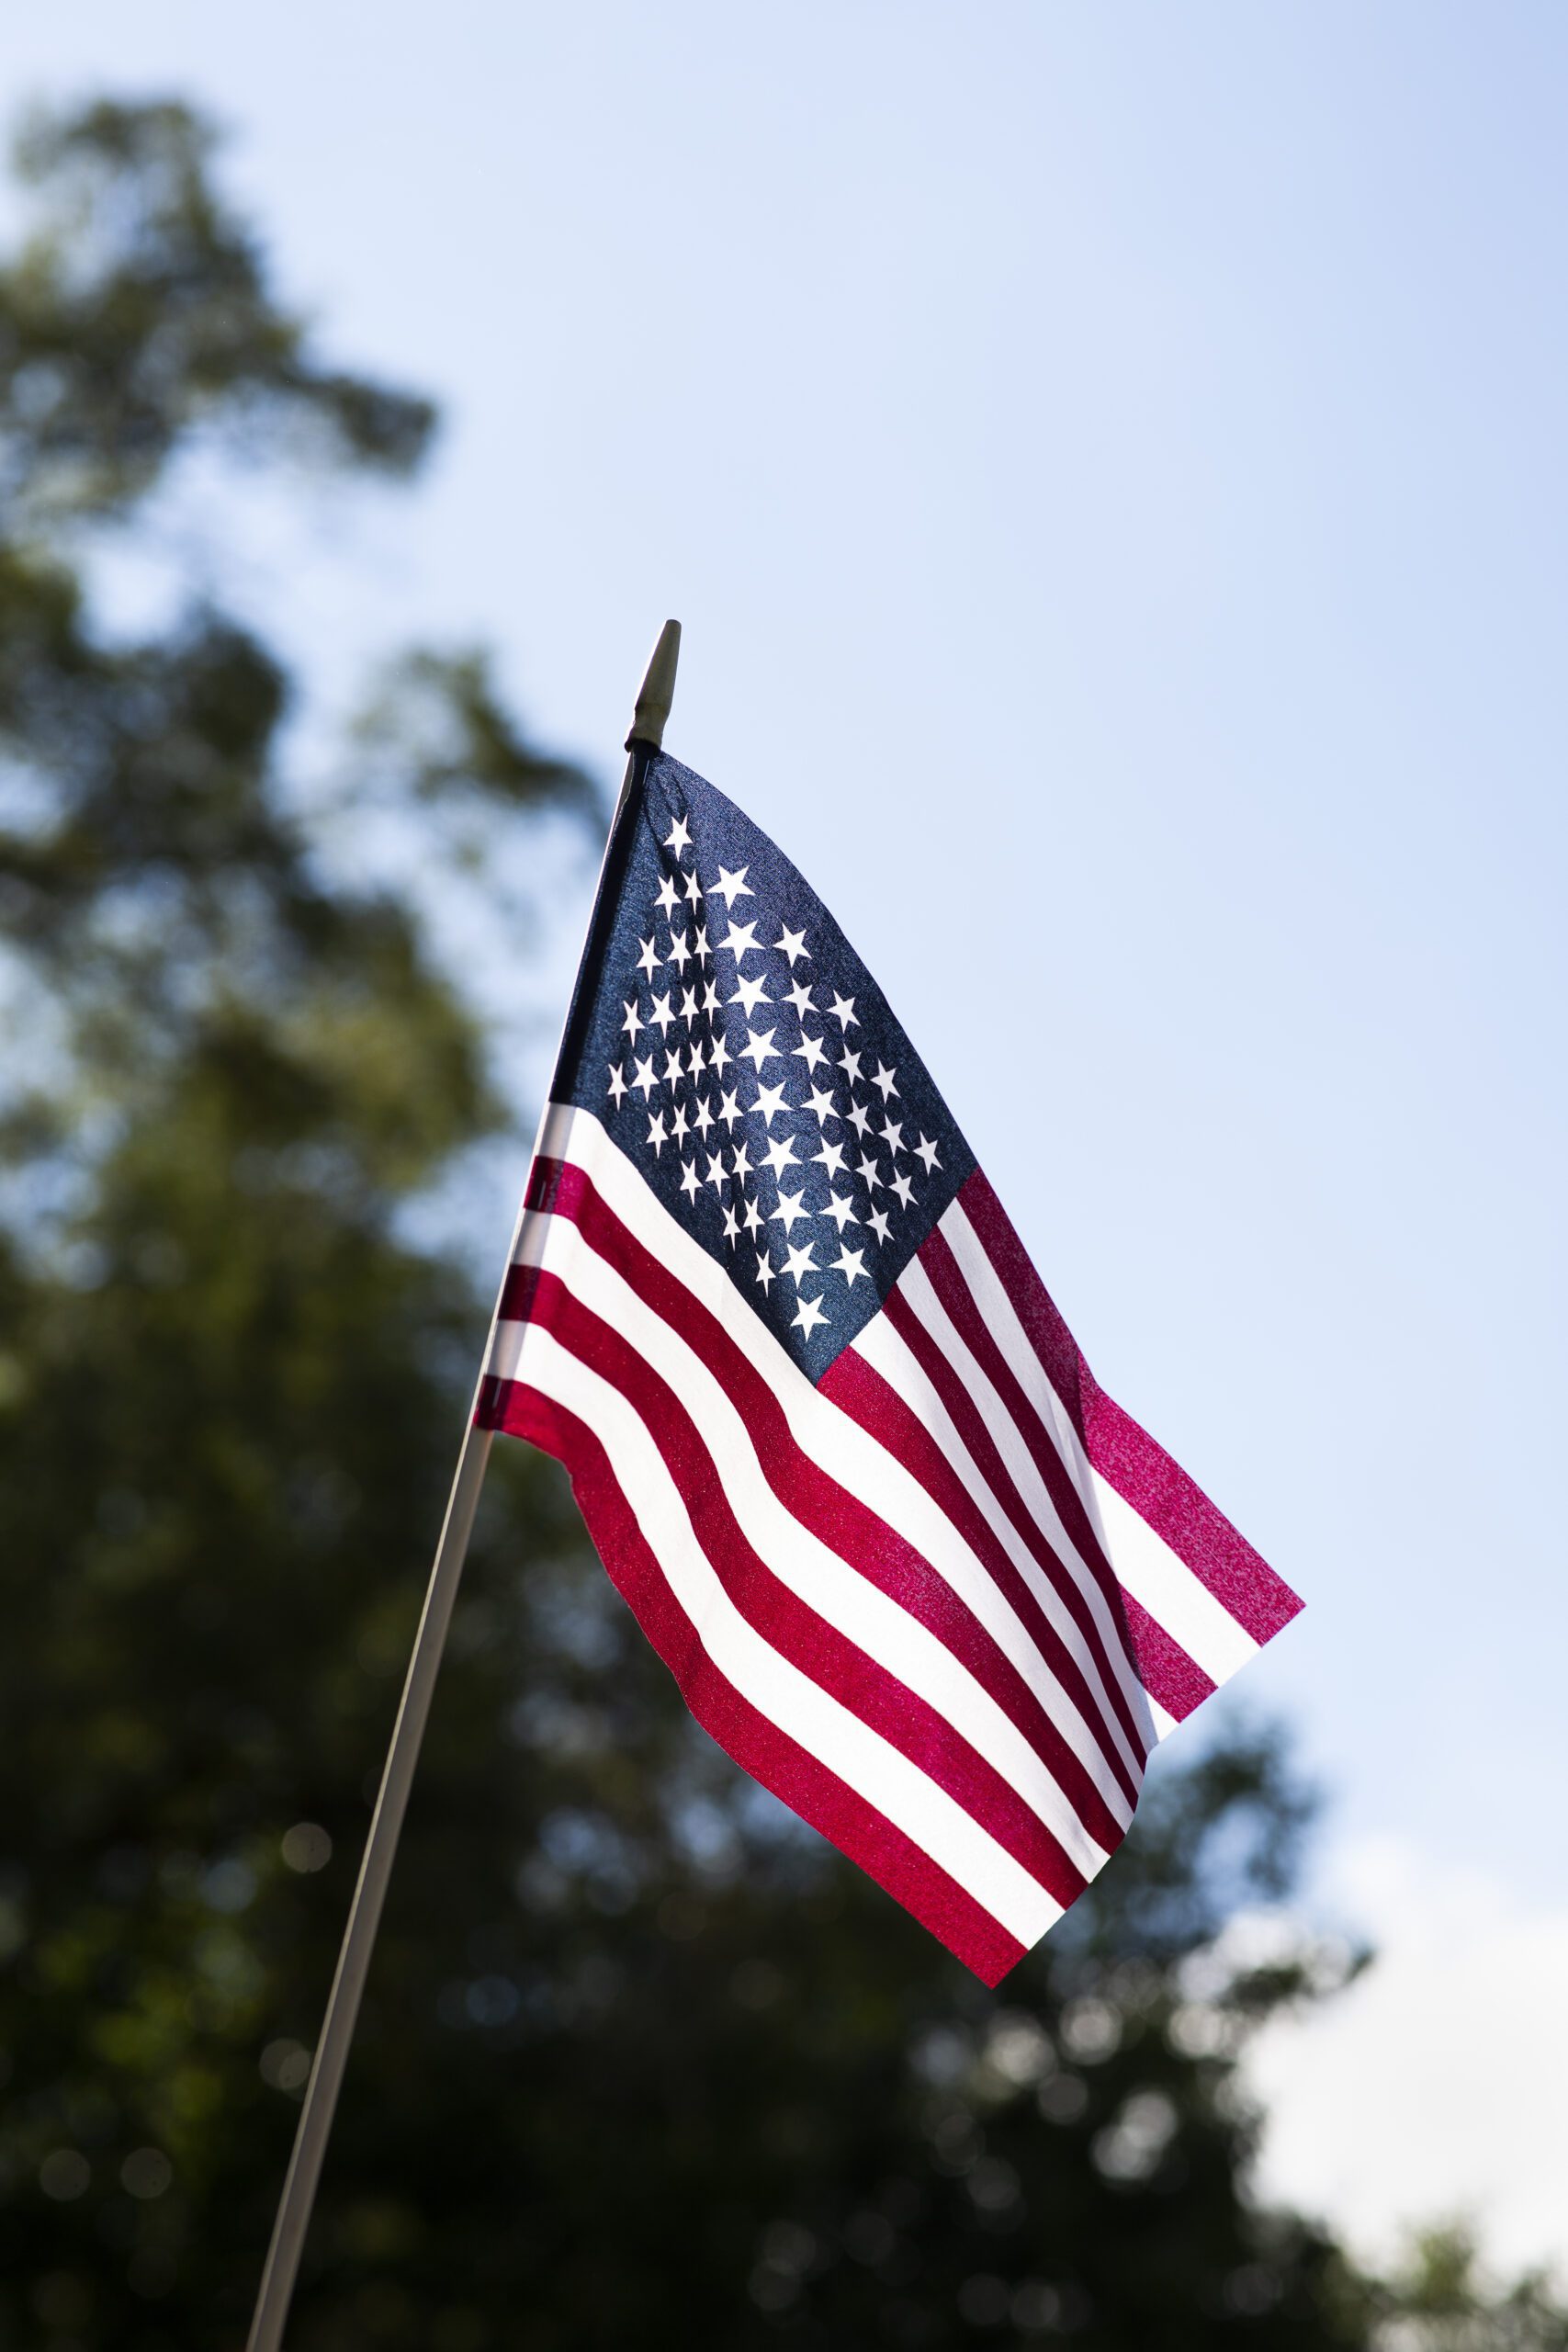
There are three items included in this set: a nylon American flag, a two-position aluminum bracket, and a two-piece spinning pole. Additional tools not included in the set are a power drill or hammer drill, screwdriver, screws, and a ladder.
Being familiar with the materials you need is no use unless you know what they’re designed to do!
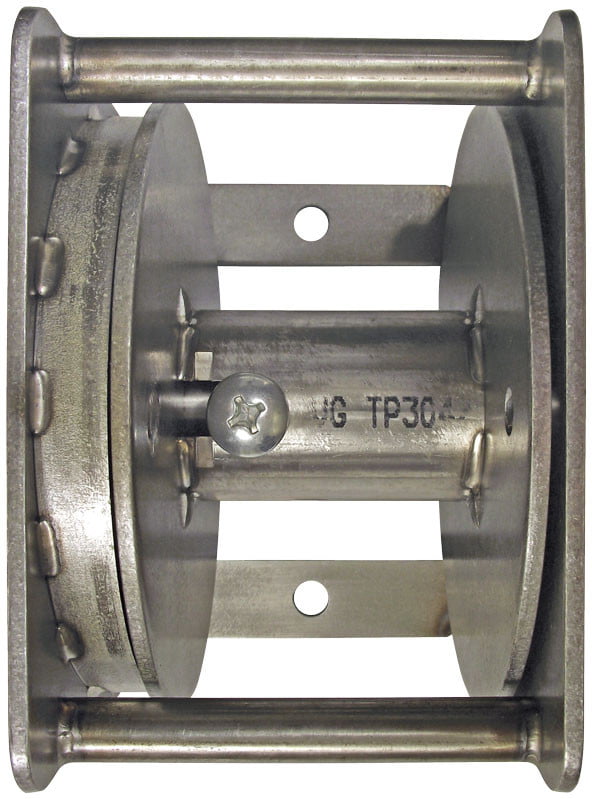
The two-position aluminum bracket is the foundation of the project. You’ll use the screws to lock the bracket into the desired location. Each house is made of different materials, typically metal, brick, or wood. Use either a power drill or hammer drill, depending on the type of housing material.
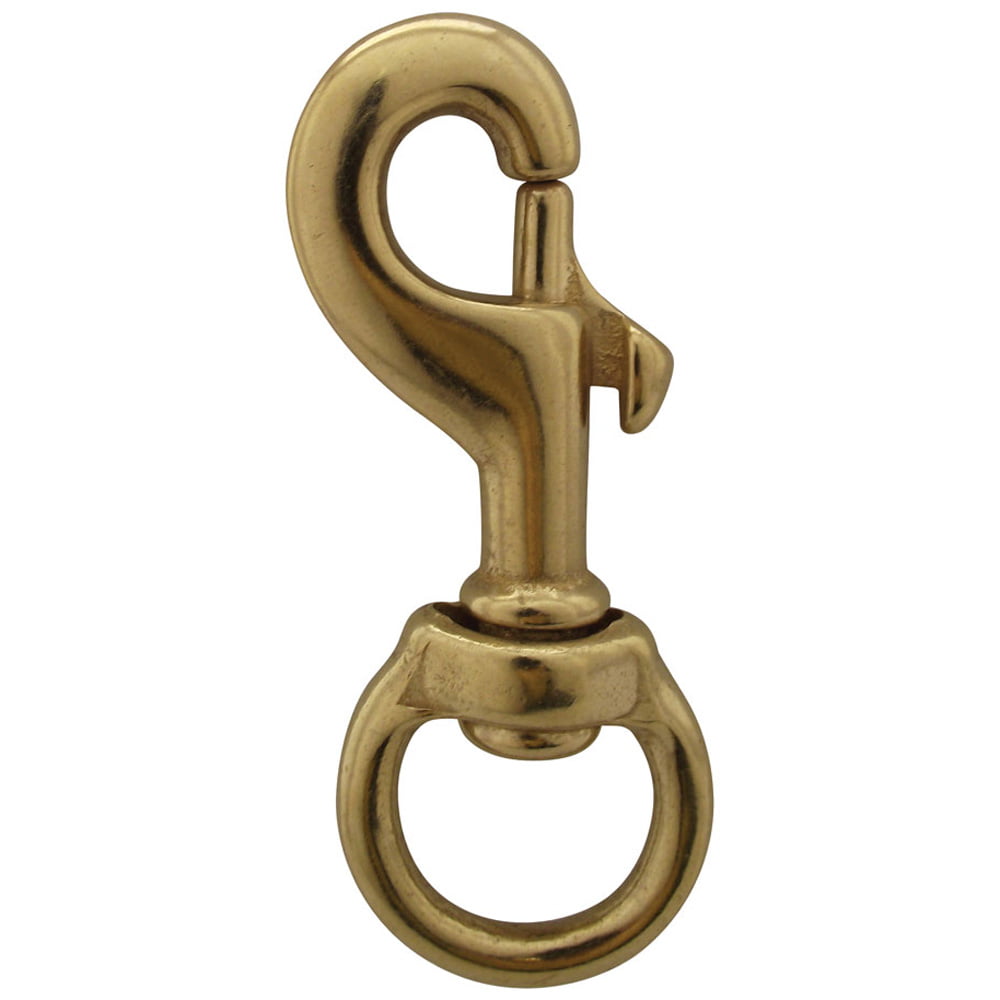
The two-piece spinning pole attaches to the American flag. Use a ladder to carefully slide the pole into the bracket.
For the last step, use the screwdriver to quickly tighten and check the screws on the bracket. The screwdriver is a supplemental tool used to ensure the screws are securely in place.
The flag is wrapped in packaging and likely has many wrinkles. You want the flag to look its best when displayed at your house. There is a way to remove the wrinkles on your nylon American flag before setting it up outside.
Hang the item flat and use a clothing steamer to gently apply steam. Watch as the wrinkles begin to disappear. Allow the flag to dry completely before setting it on the pole.
You might think installing the bracket is the first step, but it’s more convenient to first attach the flag to the pole. Since the pole sits high and at an angle once installed, it will be easier to reach the end of the pole before you fully assemble the system.
Take the end of the two-piece swivel pole with the flag attachments. Place each end of the flag on the pre-placed flag rings. Fasten these two areas to secure the flag on the pole. Now, you can attach the other end of the two-piece swivel pole to create a finished flagpole.
Since the bracket holds the bottom end of the flagpole, it’s important to remember the flag itself will fly much higher in the air than where the bracket needs to be placed. Now that you have assembled your flag, hold it from the bottom end at a 45-degree angle to see the desired height.
Use a pencil to lightly mark the house and take note of where the base of the flagpole sits. Take the bracket and place it around the mark. Ensure it’s centered on the house and as close as possible to the desired location. From here, you can start drilling the screws of the bracket into place!
Assembling an outdoor American flag set is an easy process! By following these tips, you’ll have your American flag in the perfect position to admire for years to come.